
How to Create and Edit a Ring Group
Ring groups let you ring a group of extensions at the same time, making it easy to make sure incoming calls reach the right team.
Note: Ring Groups can be created and managed with Administrator roles or higher.
Create a Ring Group
- 1
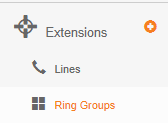
Select the plus button next to Extensions in the left side menu.

- 2
Select Ring Groups.
- 3
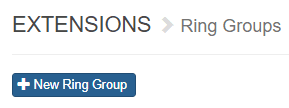
Choose the top left + New Ring Group button.
- 4
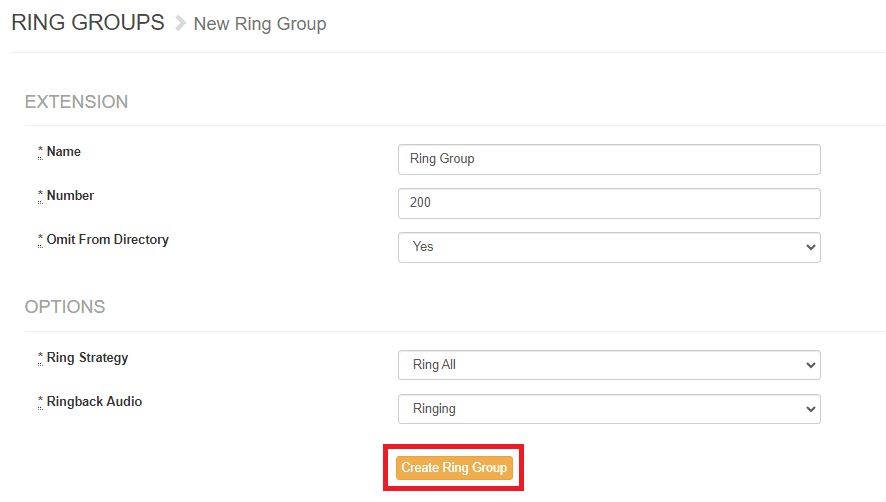
By default, the 200 series is applied to the Name and Number fields. If you add a second Ring Group, the next number in sequence is automatically assigned, and this can be modified. Enter the desired information — defaults are set for your convenience — then click the Create Ring Group button.
Edit a Ring Group
- 1
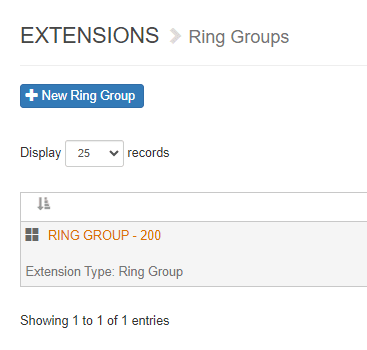
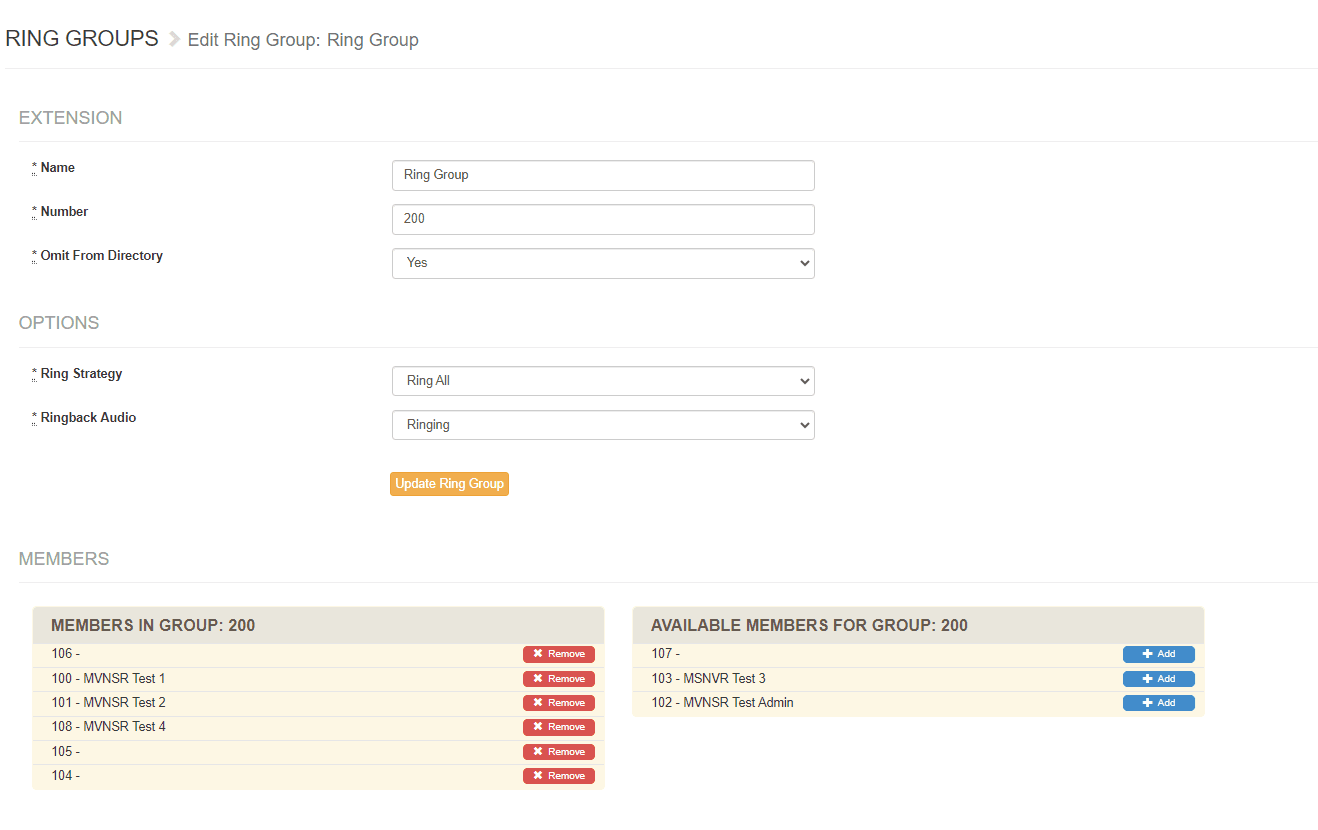
Navigate to Extensions > Ring Groups and click the Ring Group you want to edit.
- 2
Add extensions to the Ring Group by clicking the blue + Add button next to the appropriate extension, or remove extensions by clicking the red X Remove button. Click Update Ring Groupwhen you're done.
Now you're ready to use your Ring Group in your Switchboard.
Still need help?
If a Ring Group isn't ringing the right extensions, open it from Extensions > Ring Groups and confirm the correct members appear under Members in Group.
Visit the Support Center