
1 min read·Last updated: 04.25.2024
How to Create a Virtual Fax for Inbound Faxes
A Virtual Fax machine lets you receive inbound faxes electronically and have them delivered straight to email. Follow the steps below to create one in the Mango Voice administration portal.
Create a Virtual Fax
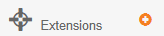
- Select the + button by Extensions on the left side menu.
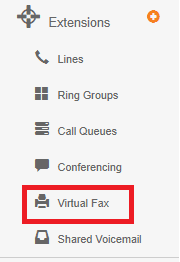
- Select the Virtual Fax option.
- Select the + New Virtual Fax button.
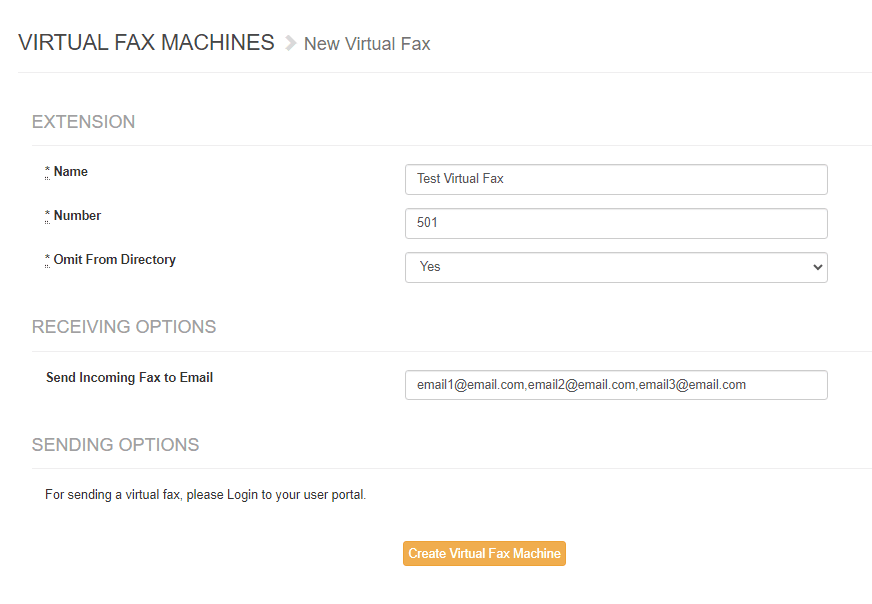
- Enter the desired name for the Virtual Fax.
- Enter the desired number to associate with the Virtual Fax.
- Enter the desired email to be notified of incoming faxes. You may enter multiple email addresses separated by commas.
- Select the orange Create Virtual Fax Machine box.
After Creation
The Secure Fax toggle will appear after the Virtual Fax is created. The Receiving Options section also becomes available once the virtual fax machine has been created.
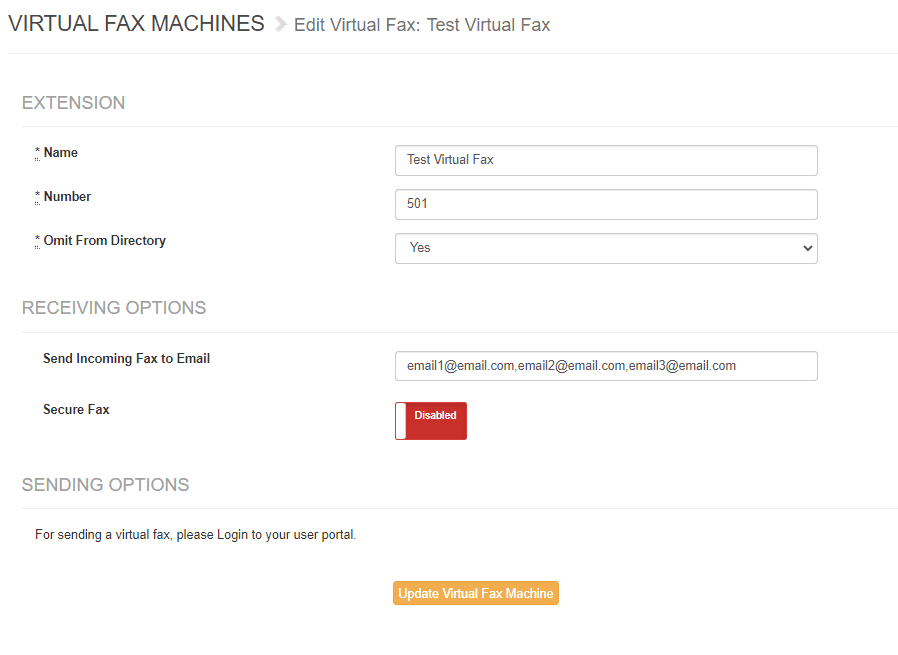
Note: The Receiving Options section will become available after you initially create the virtual fax machine. The virtual fax is only intended for receiving faxes.